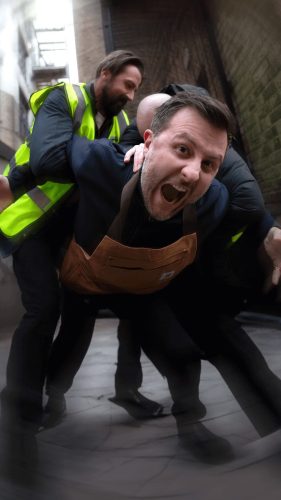
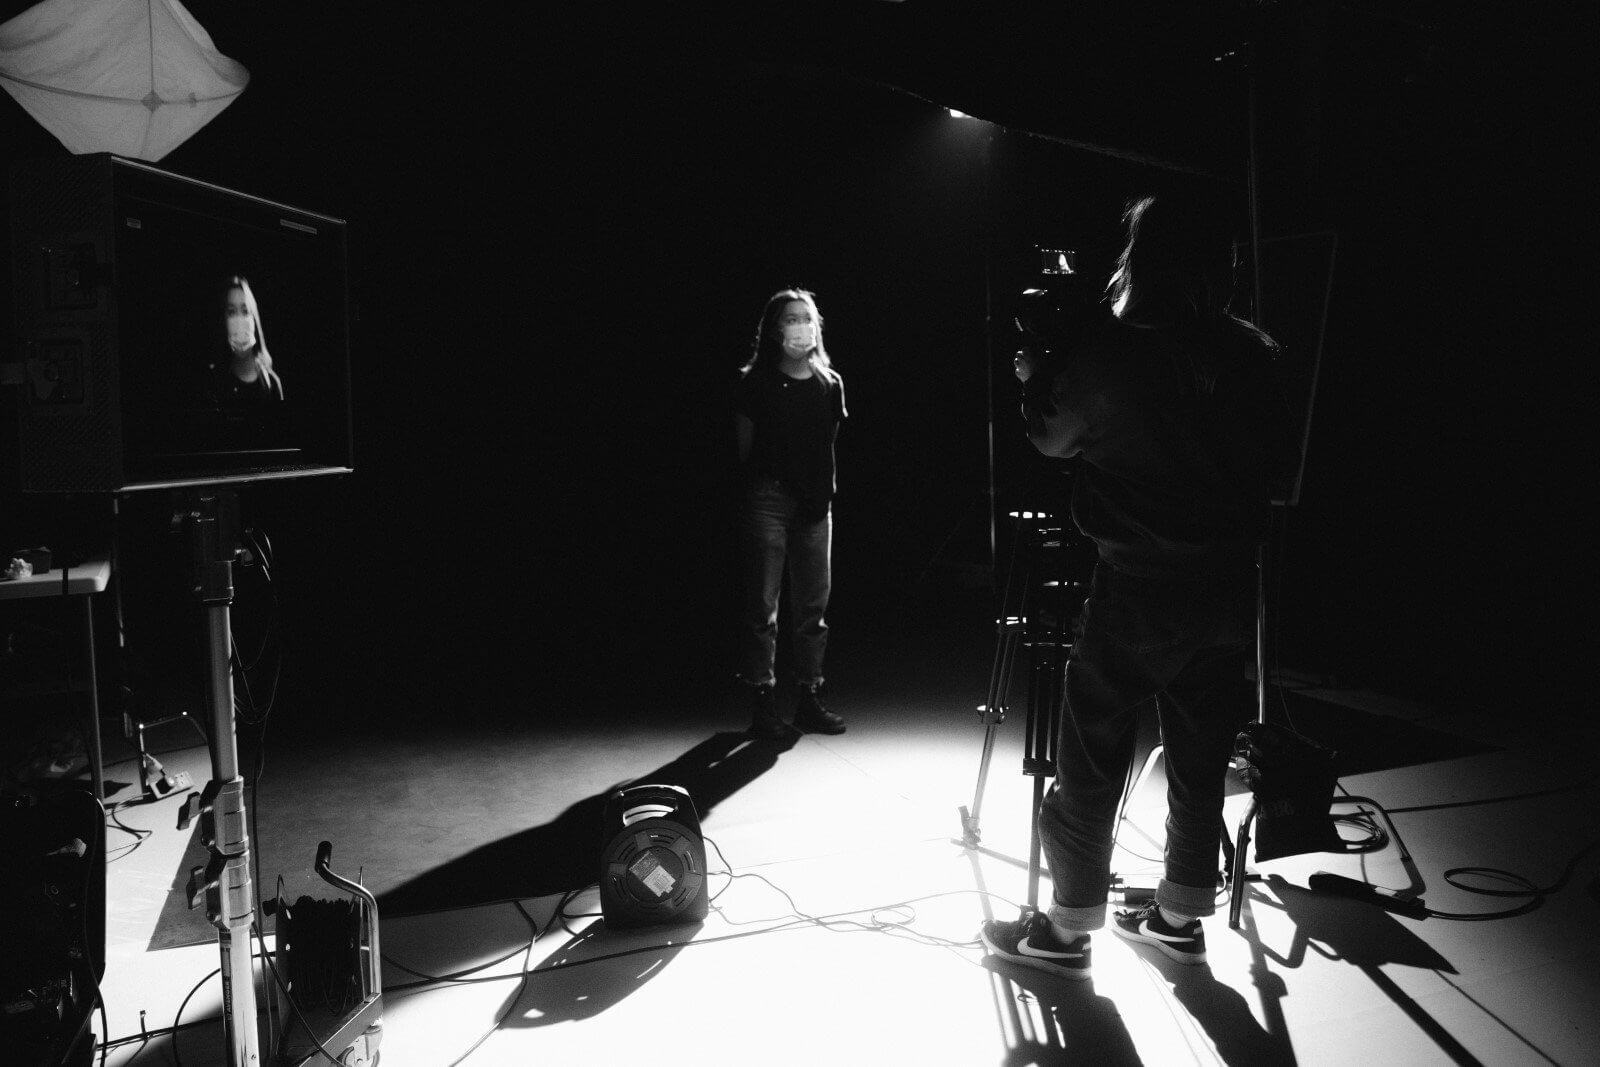
Producing an attention-grabbing video that inspires people to action is virtually impossible without the help of an effective media storyboard. Sure, you can film without the guidance of a storyboard, but the final product’s probably going to be the video equivalent of an Australian Olympic breakdancer – all over the place and not likely to score any points.

This guide provides step-by-step instructions to help you bring your video concepts to life. Whether you’re a beginner or a professional, you will find valuable tips and practical advice on using storyboards to organise your ideas, streamline the production process, and communicate your vision clearly to your team.
WHAT ARE STORYBOARDS?
Here at Perspective Pictures, we use media storyboards as visual outlines of how our videos will play, shot by shot. At a glance, storyboards look like comic strips. Take a closer look, and you’ll find subjects, intended movement, shot types, and other information that helps everyone involved in the video production process understand the director’s vision.
Storyboards can be as simple or as complex as you need them to be. The important thing is to show the visual changes that will happen from the video’s beginning to its end.
The four main types of storyboards include:
Traditional storyboards: These feature pen or pencil drawings created by an artist supervised by the director or producer.
Thumbnail storyboards: These are usually small storyboards on a single sheet of paper. Thumbnail storyboarding usually happens faster than other types of storyboards.
Digital storyboards or storyboard digimatics: These storyboards feature digital images that have been stitched together. Similar to animated storyboards, they create a sense of movement and time, and can be used to produce test films.
Animated storyboards: An animated storyboard often features individual sketches that convey movement and time. Dialogue and music can be added to the animations to create a more comprehensive sense of time and visual flow.
Whatever type of storyboard you choose, it will help you plan visual sequences without using a camera, ensure that everyone (including clients) understands the director’s vision, and decide how to sequence scenes and cut clips.
BASIC MEDIA STORYBOARD STRUCTURE
A media storyboard is a graphic representation of every shot in the video, so the basic structure consists of numerous squares with pictures or illustrations depicting each shot. These squares also include notes about what’s happening in the scene, the main actions, the effects in every shot, and the relevant lines of the script. All good storyboard examples include the following key elements:
- Shot images: Panels with 2D drawings showing characters and actions in each scene.
- Shot number: Numbers indicating when shots appear according to the shot list.
- Action: The main action in each shot.
- Dialogue/narration: The speech heard in each shot.
- FX: Technical details explaining the shot’s creation in production and post-production, such as camera angles and movement, aspect ratio, shot type, and sound and special effects.
HOW TO CREATE A STORYBOARD STEP-BY-STEP
Follow these steps to create an effective media storyboard:
Step 1: Plan Your Video

Before you start work on the storyboard, think about the objective of your video. Is it to increase your YouTube channel subscribers, boost online engagement, explain how to use a product, or promote your brand? When planning a video, we consider our client’s brand identity and target audience when determining the video’s key message, as this influences the language and tone we use.
Decide how long the video should be, ensuring that the length suits the key message and your preferred promotional channels, whether they be your website, YouTube, Instagram, TikTok, or other platforms.
Step 2: Write the Script
Once you’ve determined the video’s objective, key message, and length, it’s time to write the script. The two most important factors to keep in mind when writing the script are the plot outline, including the story’s beginning, middle, end, and key events and turning points, and character development, defining the characters, their motivations, and how they evolve through the story.
Write the script in a separate document, as this makes it easier to get your thoughts together without the need to arrange text alongside the images on the storyboard.
Step 3: Sketch the Storyboard
With your script done, it’s almost time to start sketching the media storyboard. Before putting pen or pencil to paper, identify the key characters and/or props, when they appear on screen, the setting or backdrop, the video’s theme, and the order of sequences.
Next, draw or create boxes digitally for each shot. Outline the order of sequences in each panel, identifying when key characters or props appear, the setting, the video’s theme, and other information. Remember to leave spaces for descriptions or notes.
When you’ve done that, visualise each shot with thumbnails or rough sketches. The sketches should include:
- Camera angle, movement, and shot type
- Background
- Character action, movement, and expression
- Character clothing
- Props
Think about which angles, perspectives, and images will grab your audience’s attention and evoke your intended emotions. Add notes about camera angles, transitions, movements, and the special effects that you want to use, as well as dialogue, action sequences, and other relevant information.
No matter what type of storyboard you decide to create, don’t forget the importance of composition. Remember compositional techniques such as the rule of thirds and leading lines, and do not clutter the frames with elements that don’t contribute to the narrative.
Try to keep your scenes as simple as possible for clarity’s sake. Clever transitions and complex shots have their place, but over-complicating things can take your audience’s focus away from your video’s key message.
Step 4: Sequence and Refine Your Storyboard
Arrange the individual scenes in sequential order after sketching them out. When you’ve done that, take a step back and review your media storyboard.
Ensure the sequence offers a logical progression, aligns with your video project goals, and effectively communicates the key message. Make any necessary adjustments to the scenes or sequence after reviewing your storyboard. That done, all you’ve got left to do is give yourself a pat on the back and start gearing up to bring the storyboard to life!
BOOST YOUR VIDEO PRODUCTION WITH STORYBOARDS
Our storyboards are where our vision for our videos first starts taking shape. They guide everyone involved in the production process, both in front and behind the camera (we would be lost without them).
If you’re ready to harness the power of effective storyboarding, the talented video production team at Perspective Pictures is here to help. Get in touch with us to learn more about how we can bring your story to life.


